Showing posts with label rv remodel. Show all posts

Sunday, January 4, 2015

A quad bunkhouse for FIVE

I told ya'll a while back that I would finish showing you our camper remodel.  We painted the main living area, put up curtains, did away with the booth dinette and camper couch...added a recliner and futon, hung some art, changed our lights out to LED.  I'm pretty sure I showed you all of that.  What I didn't show you were the changes we made to the kids bunk room.  Well, I'm going to show you now :)...

We have 5 kids.  Our camper is a Fifth Wheel with a quad bunk room.  Yep, only 4 beds.  A little simple math and you can see that we come up one bed short.  We made it work, buying the littlest dude one of those flip futon chairs that we folded out as his bed each night and folded back up into a chair each day.  Not ideal (the chair ate up a lot of floor space even folded up), but it was very comfortable. 

Our camper has tons of storage space.  Seriously.  So much so that we have always had empty cabinets and drawers.  That is great, but surely we could put that empty space to work for us...right?  Right.  So, we pondered it for a bit and came up with the idea of a trundle bed on the boys side of the room.  There are 2 bunks with a bank of drawers under the lowest bunk on each side of the room...


Take out those drawers...

cell phone photography late at night...not so great ;p


Have your awesome husband build a custom trundle bed, complete with little wheels and rope handles...

the bottom of the trundle bed

checking the fit before adding the face

isn't it pretty?  my hubby is awesome :)

Stuff it with soft and squishiness...


And you have the perfect solution to the 5 kids in a quad bunk RV problem :).

Well, almost perfect.  We used a slab of memory foam that we had bought for our bed.  We just cut it in the size of the trundle and layered it up in the bed until it was nice and thick.  It was comfortable, but there was another problem.  After it was slept on for only a short while, it started to smell.  Think locker room meets bowling alley smell.  Gag.  The mattress (I will never buy memory foam again.  Ever.) was apparently making my littlest boy sweat in the night time and then trapping said sweat forevermore.  Makes me sick to my stomach thinking about it...  That thing went to the nearest dumpster, we did a little research, and ended up ordering a custom piece of foam from a place called Foam Factory.

We went with the outdoor foam because of it's breathe-ability and anti-microbial qualities.  From their website..."Dryfast foams are suited for outdoor use where moisture and precipitation like rain is prevalent, such as in patio furniture, including under Phifertex material, or in marine cushioning on personal watercraft. The large, open cells provide a degree of airflow not present in other foams, allowing it to dry quickly, even after complete saturation. The Dryfast foam formula is anti-microbial and helps suppress microorganism growth, common in damp areas. Dryfast foam can be cut to the size you need with a sharp knife in your own home, or we can cut it for you."...or the sweatiness from a boy child ;).

We measured, ordered on-line, and it arrived pre-cut and ready to slip into the frame.  NOW we had the perfect solution to the 5 kids in a quad bunk problem ;).  Our son loves his comfy bed that his dad built for him and we all love that it doesn't smell funny (my poor little dude).

Ok, we solved the bed issue but didn't stop with that.  The rod in the kids' closet had decided to detach itself and come crashing down one day.  What a mess!  It would never work to try and stack the kids' folded clothes up inside the wardrobe like it was and I really didn't want to try hanging a new rod...the kids had been having a hard time with organizing their clothes with the factory set up.  So, we added a couple of shelves to divide the space.  The kids each designated a spot for their folded up clothes to go...another problem solved.  Works so much better than just having that one rod with a shelf above it!


Originally we had bought each child one of those nets that fits into the corner of their bunk to hold their stuffed animals, etc.  These nets always fell down when we were traveling and the contents would spill out.  Kinda defeated the purpose...  As long as we were still, they worked fine.  But we don't like to be still ;).  So, we took a lap around the hardware store and came up with storage baskets from the closet system section.  They have a notch made into the front that is perfect for reaching into when attached to the underside of a bunk...


This worked for the four bunks, but what about the 5th child...what does he get?  His very own basket, of course :).  I had a vintage locker basket that worked perfectly in his space.  Dan attached it to the side of the wardrobe and it has been filled to the brim with little boy treasures ever since...


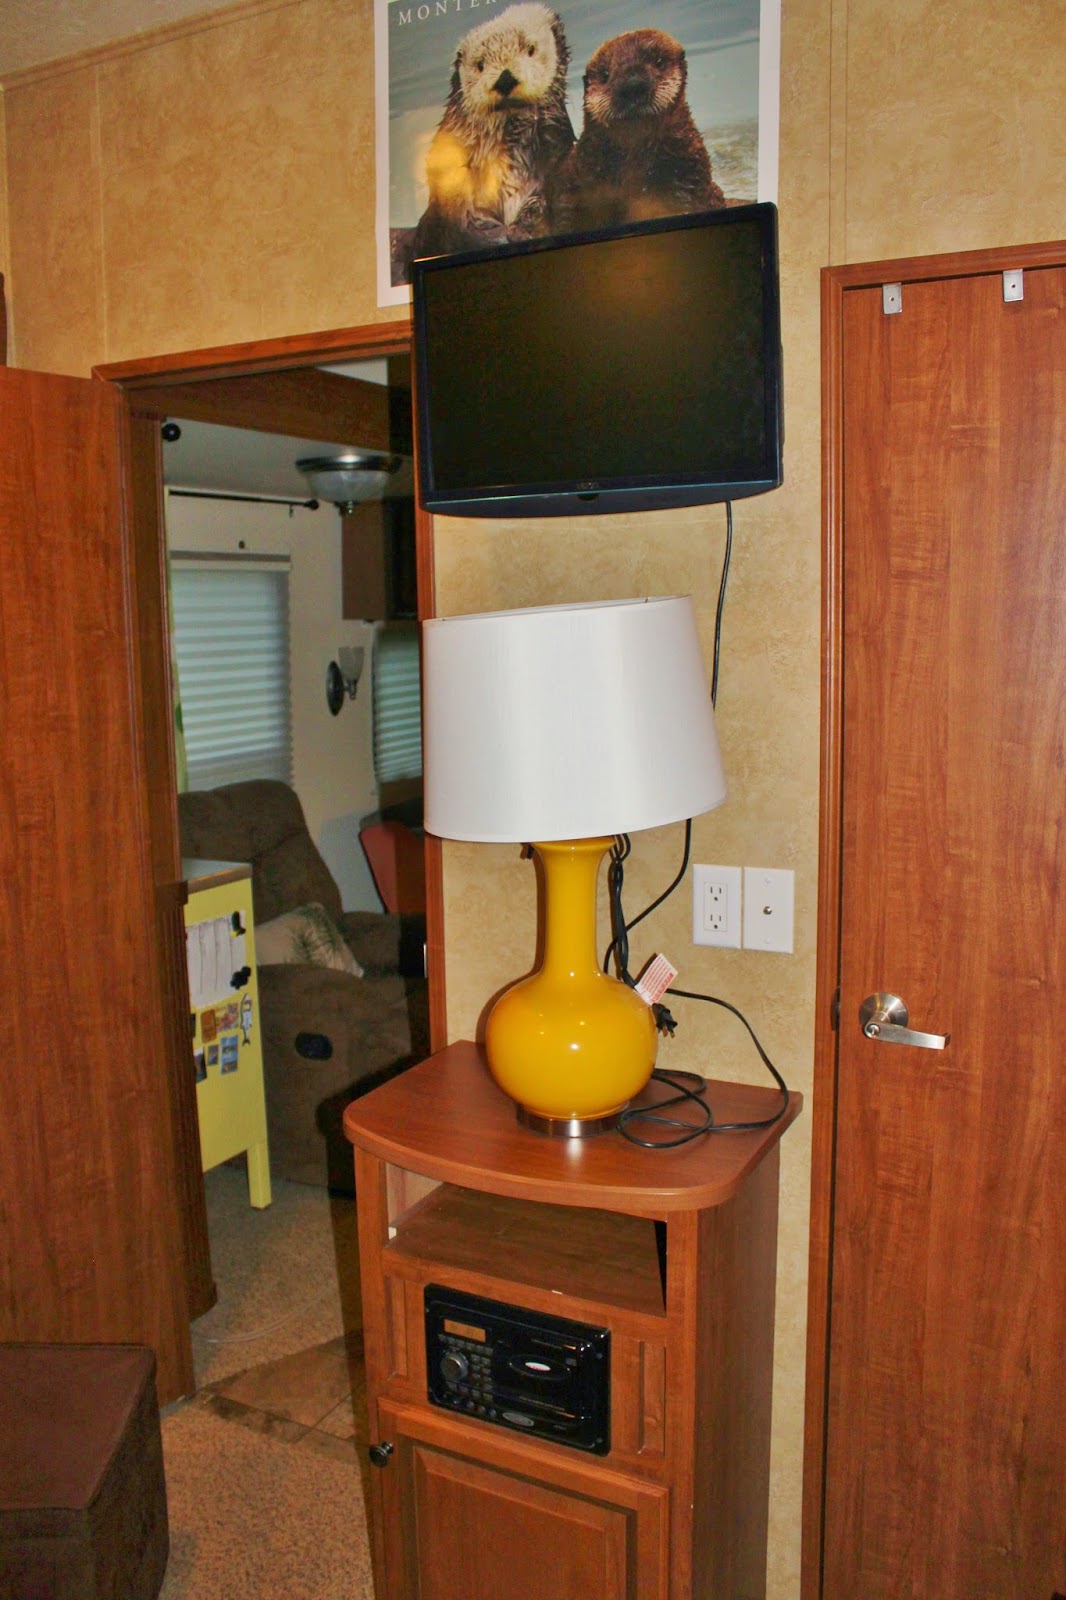
While we were in there with the tools, we decided to hang the kids TV up on the wall.  This worked so that they could all see it better and also to free up the top of the little TV cabinet thing...


The kids added their personal touches...more Jr. Ranger badges, different bedding, different/more art...


They are happy with the changes...anything that gives them more space for legos ;)!

Thursday, November 7, 2013

RV Remodel - The Big Reveal

Today I'm going to show ya'll the rest of the changes we made to the main living area in our 5th wheel.  You can see part one here...and part two here, if you're interested.


As I mentioned earlier, we took the couch and dinette out of our camper and sold them on Craigslist.  They were ok as far as being comfortable, but they didn't really "fit" us. 

**I have to stop right here for a minute and give a shout out to two other fulltime families... this family and and this one.  Reading on their blogs about how they tossed all the factory furniture and replaced it with things more suited to their families gave me that final push to "just do it".  To those families, should you ever read this...THANKS :)!**

We decided for us that it was more important to have some really comfy seating (vs. a little seating and a little dining table) and enough of it so that we could all watch a movie together or just hang out in the evenings.  For my husband, that meant having a recliner.  We were able to find a small wall saver one that fits just right.  We added in a futon that also fits nicely and that left room for either a small table or another chair.  Or both!  I had initially planned to get one of the IKEA Poang chairs, but after I put in the table and lamp (which I think really make the space feel more like home), there wasn't enough room.  I decided to try out a little pinkish colored chair that we already owned and it fit perfectly!  Yay for not spending any more money :)!  For a dining table we use the picnic tables outside or we put up a few small folding tables and sit on the couch/chairs in the camper.  So far, we are loving this arrangement :).

When we are traveling, we put everything like this to run the slide in (the lamp rides in the recliner)...


Once we stop, we move the pink chair over and angle the recliner to make things more cozy...


In the picture above, you can see something else we changed.  Dan took out one of the drawers under the tv so that we could put our satellite receiver there.  It was too big to go in the cabinet above the tv, so he put it in that space and secured it with some velcro.  We don't watch much tv, but it sure is nice having the dvr for when we do.

I also hung some of my favorite art on the walls and set out some special mementos.  They make me smile :)...

we had these made at Disney World when the kids were little...btw, camping at Ft. Wilderness is super fun, if you've never been, you should make plans to go!


another peek at my "polyester pantsuit" curtain :)

love the painting I got from this super talented lady

i take those toss pillows outside when we are sitting around in our lawn chairs :)

Monterey Bay sea glass and Cape San Blas shells...<3


The last two things we did really make our space more comfortable to live in...first, we changed out all of our lights to LED's.  It is amazing at how much cooler the LED lights are...the old lights used to get so hot, not to mention the extra electricity the old ones used.

http://www.amazon.com/BrightChoice-Holagen-Replacemnt-Camper-Trailer/dp/B009DRKQ1Y

Second, we got a Berkey for our drinking water.  Love!!!  It fits nicely on the kitchen counter and it's so easy now for the kids to get their own drinks.  No more heavy jugs of bottled water nor the waste that comes with that.


Some before and after shots for you:

before

after

before

after

before

after

We are getting ready to do some extended traveling, so I don't know exactly when I'll be back (depends on internet, might just be a day or two).  When I do get back, I have some bunk room changes to share with ya'll. 

Thanks for looking :)!

Tuesday, November 5, 2013

RV Remodel - curtains

After the paint dried (click here for the first part and a couple before pictures), it was time to start putting things back together.  First on the list was curtains.  We took down the cornices and those curtain strip things that came with the camper (the pattern was just SO ugly, imo) and sold them on Craigslist.  We also took down the blinds while we painted, but those we kept.  They are the day/night blinds and while not the prettiest things in the world, they work way too well to give up.

Time to shop for curtains!  Or not...  Everything I liked was either out of stock (because it was a decent price) or insanely expensive (not happening).  Ok, time to "shop my house" for curtains!  I am not usually much of a curtain person, so the pickings were slim.  How slim?  Well, I only had two sets of curtains.  The cool part is, those two sets were exactly what I needed for the "living room" area in our camper...

funny...the color of the blinds is pretty much what the entire camper used to be


Four windows down, two to go.

Keeping with the theme of using what I already had, it was time to get creative.  I don't know about you, but for me, when I am forced to use what I have vs. just going out and buying something, the results are often far better.  Maybe it's just because I put way more thought into it and therefore appreciate it more.  I dunno.

So anyway, since I knew I didn't have any more actual curtains, I started thinking of anything else I had that might work.  What I found was two little vintage quilts in the perfect sizes and colors!  It was really surprising how perfectly they fit the windows I needed them for, almost like they were meant to be :).

My kitchen window...


I just folded the top of the quilt over and pinned it with safety pins to make a pocket for the curtain rod to slide into.  I open this curtain first thing every morning and close it each night and so far it works great :).

The hall window...


We were able to hang the curtain rod high enough that I could just use ring clips to hang this quilt.  Couldn't be simpler :).  I especially like this quilt because it reminds me of my grandma.  The squares and backing are all from different polyester pantsuits just like she used to wear...I love it!


Well, that's it for our "new" curtains!  

Stay tuned...I have lots more changes to show you :)...

Sunday, November 3, 2013

RV Remodel - painting

I knew from the day we bought our camper that I didn't like the color scheme.  Brown, brown, and more brown.  Yuck.  We did, however, like the floor plan, so we bought it with the intention of removing as much brown as possible...asap.

a couple pictures from this spring to kinda show you where we started...

...brown overload

Well, as I mentioned in this post, we moved into our camper in a bit of a whirlwind with no time to change anything (less than a month from deciding to full time to hitting the road).  The place we bought our 5th wheel from had to have it delivered from another lot across the state, so we didn't actually get to see/take possession of our camper until the week we moved into it.  I think we had it sitting in our driveway for 3 days (as we were moving out of our house) before we officially lived in it.  Crazy quick and no time for changing anything.

The months that followed were no slower...we were go, go, go.  The brown bugged me, but I lived with it.

Finally!  When we were in Florida the day came to banish a bit of the brown.  Yippee!!!  We were living in a rental house and the second I got that camper back from the shop I was in Lowe's (or was it Home Depot?) picking out paint colors.  I gotta say, I'm really glad I didn't try to paint it while we were living in it.  I made a big enough mess with it empty...I can't imagine how it would have gone with stuff everywhere.

 
I didn't even have time to take a "before" picture...by the time I got out to the camper Dan had tossed aside the dinette cushions and had half the wall border down.  I was grateful for the help, though (very :)!)...


good riddance!!!

We had talked about just taking down the border and the ugly curtains and calling it good.  Nah!!!  Anybody that knows us, knows we never do the minimum (hehehe).  Go big or go home, right?  Right.  So...wall border came down, curtains and cornices came down, couch came out, dining table and seats came out.  All the main living furniture....out.  I sold every bit of it on Craigslist.  (we didn't stop there, but that's a story for another day...stay tuned).


Ok, I'm finally getting to the painting (I know I ramble...can't be helped).  When we removed the wall border, it left behind a lot of glue.  We had heated it up with a hair dryer (not to mention that we were doing this in August in Florida, so it was already a sauna in there) before pulling it off to try and get the glue to turn loose better.  It did help some, but there was still a bunch left on the wall.  This stuff was HORRIBLE.  We tried olive oil, goo gone, mineral spirits, magic erasers (getting desperate), scraping it with a putty knife...pretty much anything we could think of that might work.  Ya'll, it didn't work (well, it sorta worked).  This is what it did...


It took the color right off the wall.  We had read somewhere online that this might happen, so we weren't surprised.  Had we not planned to paint and were just trying to get the glue off, we would have been sick over it.  As it was, no biggee.  But, after all that, there was still some glue stuck to the wall.  Seriously.  At that point I didn't care and just decided to painted right over it.  Shh...don't tell anyone ;).

i also sanded and spackled the screw holes from where we removed the dinette and curtains

To tell you how inexperienced at painting I am, I thought I could free hand it and get by without taping.  HAHAHA!!!  Funny.  I very quickly realized that taping would be required.  So, I took myself back down to the store to get some tape.  I had intended to get Frog Tape (green stuff), but the paint dept guy talked me into getting Painters Tape (blue stuff).  Don't do it!!!  GET THE GREEN!!!  I used the blue on about half the taping and when I ran out I picked up some green to finish just so I could see the difference.  The results when it was all said and done?  The blue didn't want to come off the wall.  When I was pulling it off, I had to be super careful because it was taking part of the paint with it and making an ugly mess.  Lots of touch ups :(.  The green?  Pulled off nice and pretty, easy peasy.  Learn from my mess...go with the green, even if the paint guy says otherwise.

boo, blue tape!

if only i'd run out of the blue sooner...

yay for green tape!


So, for paint...first I primed with Kilz (after I washed the walls and let them dry).  We had the paint people mix in some mildew resistant stuff just because campers tend to "sweat" in the winter.  This sounded like a good idea just to try and prevent mold/mildew.

a floor cloth was a must for this messy painter!

For the actual paint, we went with...white!  Yep, good 'ole white (well, a shade of white...antique white or something like that, a little warmer than just white).  In such a small space, my main goal with the wall color was just to lighten/brighten things up and this does the job nicely.  It also provides a clean back drop for me to add color through art, curtains, pillows, etc.  We like it :).

just starting to paint the final color, a warm white


Final verdict on painting?  Ya'll, it was harder than I thought it'd be!  Maybe I'm just a wimp...I don't know.  I do know it was a huge job!  I'm glad (oh so glad to be rid of some of that brown) we did it, but man...it'll be a while before I want to tackle that again.


These are obviously progress pictures...check back with me later to see what else we tore up, I mean "remodeled", hehehe...